Guinness Guide to Aging Your Weapon: Part 3
filAKairsoft
20 Jun 2008

Editor's Note: The final installment which will be focused on working on plastics, especially if you're scrimping on your budget to buy the wood kits coming out of China and the Philippines. We give our thanks to filAKAirsoft and to Guinness for having this series featured here... And now, finally, the conclusion of my aging and weathering guide for Airsoft replicas. But first, a brief recap.
Sanding and Preparing Wood - I began the series discussing how to sand and remove the original finish from wood kits. Techniques for stripping the wood down, sanding and refinishing.
Distressing and Aging Wood - The next part of the series covered how to get that 'Battle Veteran' appearance from your furniture using simple household tools. Using screwdrivers and a hammer to put nicks and dings in the wood. Then, how to apply acrylic paint washes to darken the wood and give it the aged look.
Linseed Oil Application - This completed the Wood Furniture section of the Guide and discusses the final step for producing a Veteran Airsoft replica.
Metal Replica Weathering and Aging - This section focuses on techniques for giving your metal bodied Airsoft replica a worn appearance. Again using common tools and inexpensive supplies from the local hardware store you can create a War Vet look for your replica.
Part III: Plastics
I would like to just take a moment and Thank Everybody for their very kind words of encouragement along the way. I have received a ton of very positive feedback and I want to thank you guys for the support. I truly hope this guide helps you guys to create your own "War Veterans" for use with your impressions or just to wow them at the local skirmish site!
This will be the conclusion of my series as we have covered pretty much all of the major areas of 'weathering ' or aging your replica. There are techniques to use for the wood stocks and furniture that you would add to an Airsoft replica weapon or those that come from the factory with wood. As well I have given you tips and pictures to deal with the wood kits that are coming out of China right now,these are quality wood, but seem to be very red in color for some reason- that is covered in the series.
And in the last episode I provided techniques to create the aging and hard use effects on metal replicas.
Finally in Part III we will look at how to achieve this effect on plastic. This will mainly be concerned with plastic grips, the technique will help you to create a real wood-like effect on plastic.
Right then, let's get to it!
Step 1 - Preparation
Materials Needed:
- Acrylic Paints from Arts and Crafts Store > $2 bucks a bottle
- Medium Grit Sanding Pad > $3.50 from Hardware Store
- Clear Coat Spray Paint- > I use Krylon Clear Coat, $5
- News Paper, Paper Towels, Plastic cup for paint mixing
- Hand Tools: Flat head Screwdriver, File, Dremel (Optional)
As with all of the processes we have discussed in the series so far, the first step is to make sure you have an adequate work area and all the materials you will need to get the job done ready and handy.
I do all my sanding, dremelling, distressing, and painting work in my garage on nice sunny days. I open one door of the garage so that all my neighbors can see me work and wonder what "The kook with all the guns is doing now" ;D
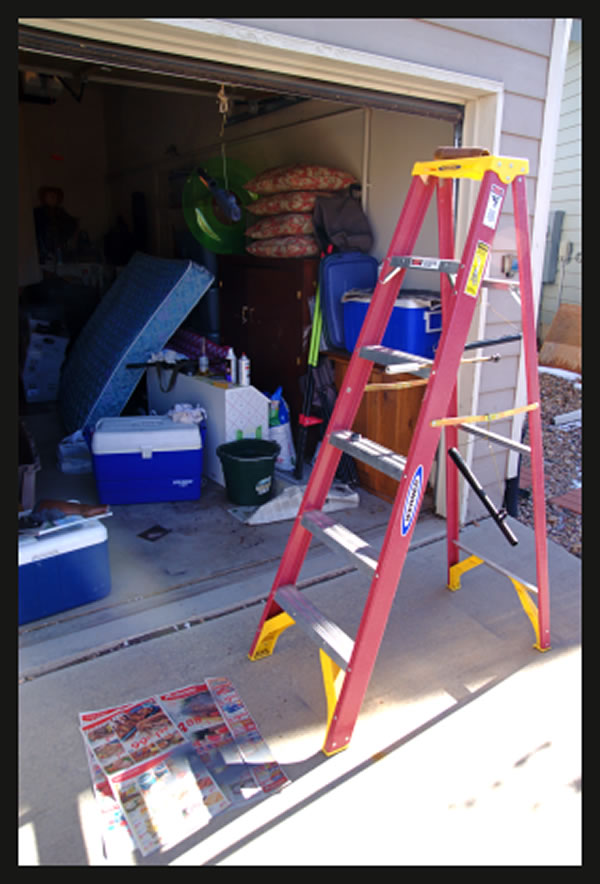
My work area and 'portable paint bay and dryer' otherwise known as a ladder.
Step 2 - Sanding
As with the process for aging wood, working on plastics requires beginning with a good sanding of the item to be weathered.
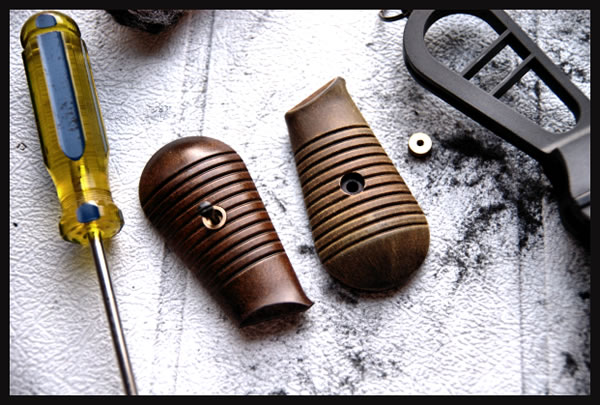
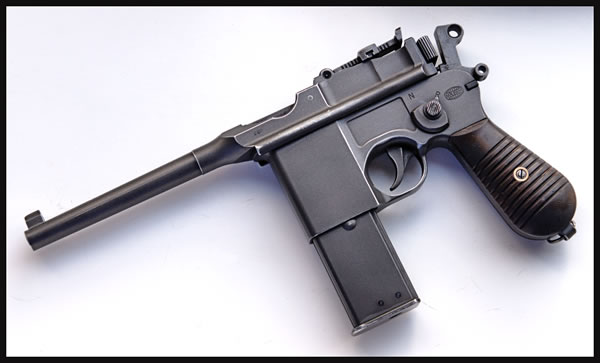
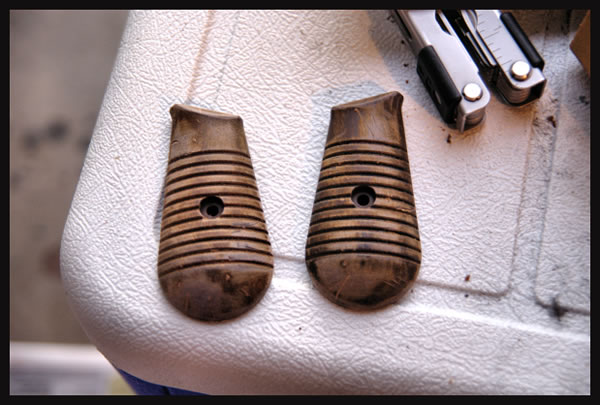
Photo above: First sanding on Broomhandle grips
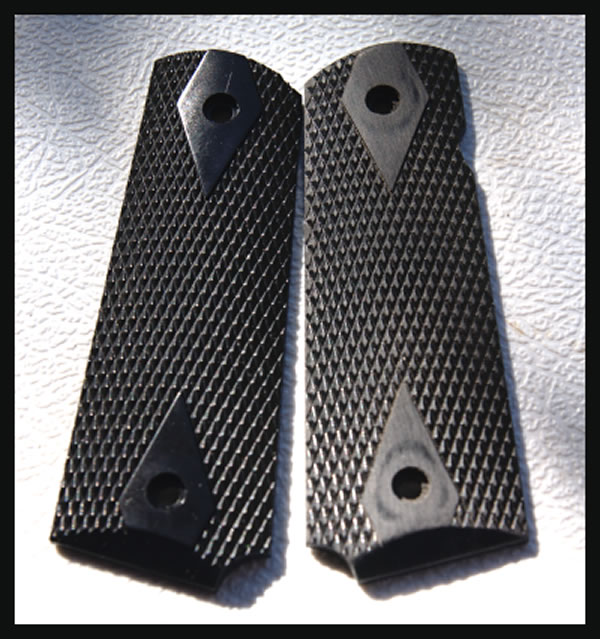
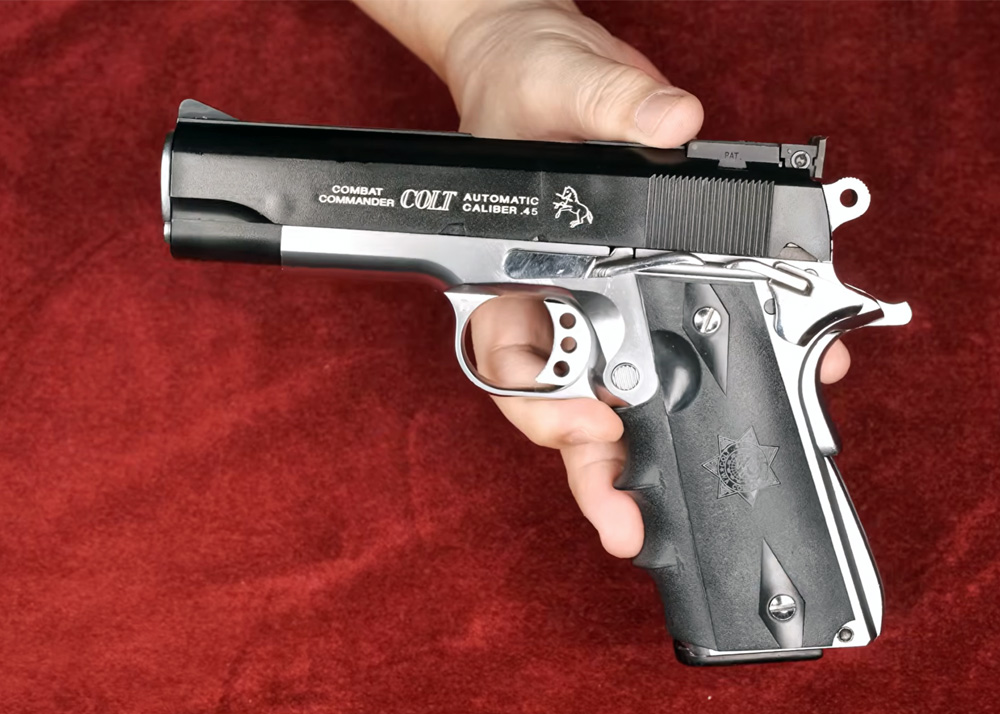
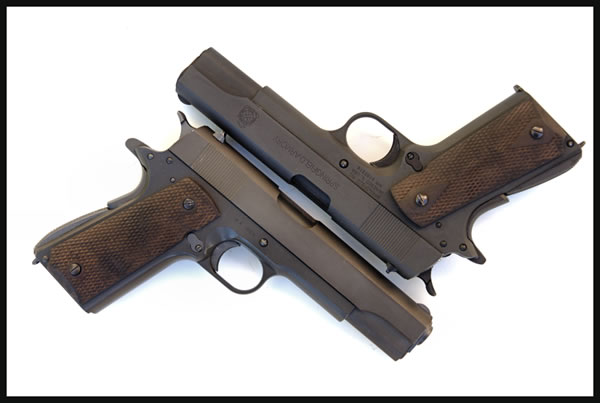
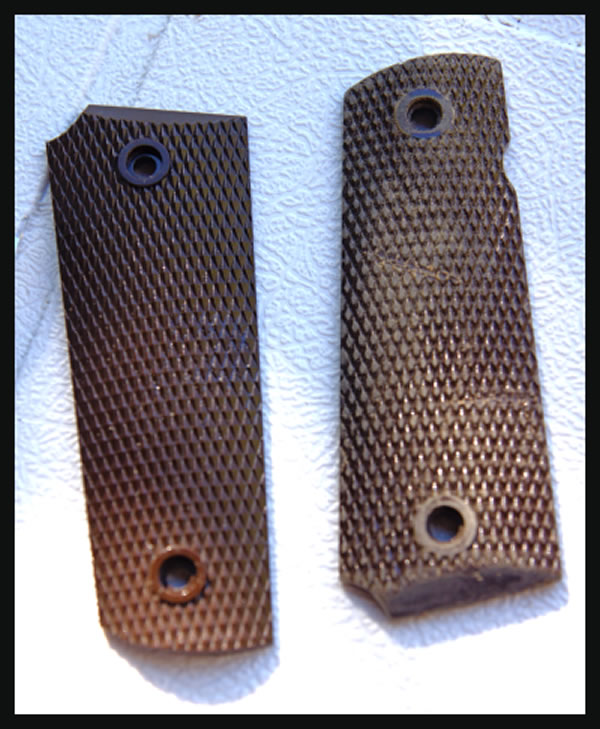
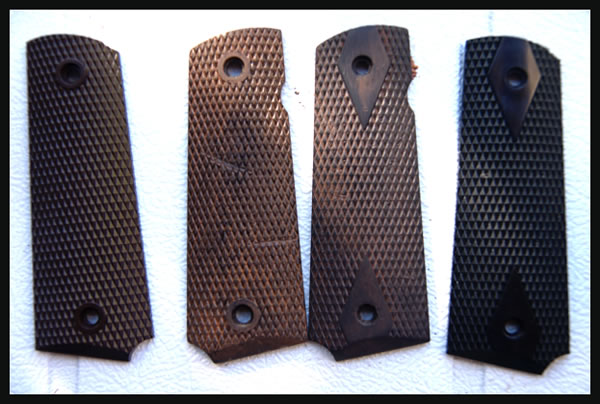
Photo above: First sanding of black checkered 1911 grips
Sand using medium-grit sandpaper or sanding pad. Sanding pads are better to work with because they allow you to get into the cracks and ridges much easier.
Sand until the top shiny layer has been removed. And here's another tip- its a good idea when doing pistol grips do one at a time, this makes it easier to gauge how much you have done because you can compare it to the original form the opposite side.
Step 3 - Distressing
Similar to what we did on the wood furniture, we will use household tools to create the distressed look on the plastic pieces. However a hammer won't be used in this process.
I use a screwdriver to create small dents and nicks, and I also use the file from my multi-purpose tool to make deep cuts and gouges.
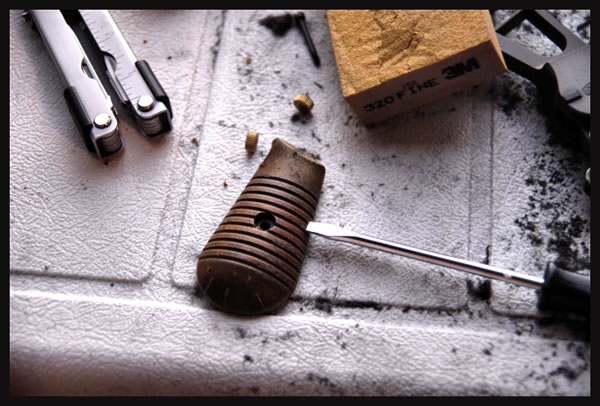
Photo above: Broomhandle Mauser grip about to get abused...
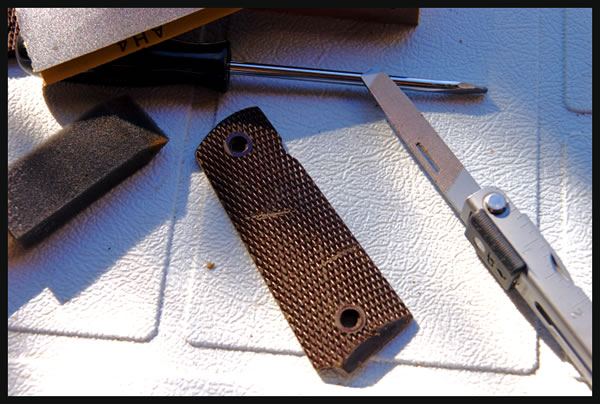
Photo above: 1911 grips getting the file treatment
Follow this step with a good sanding to remove rough edges and to smooth the gouges out to help make the plastic look even more like wood. For the most realistic 'wood' effect, be sure to sand edges and 'wear areas'- for instance on 1911 grips, the 'points' of the checkered grips would be worn smooth with use- make sure to hit those especially, leading edges or forward and rear edges as thesewould be 'contact' areas of the grip. On the Broomhandle's grips I used a dremel and went through the deep ridges, again to simulate the wear that real wood grips would see over the life of the weapon. As always, a couple of good nicks and gouges add 'character' to the piece and keep it from looking 'brand new' to go along with any other aging you have done to the replica.
Step 4 - Painting
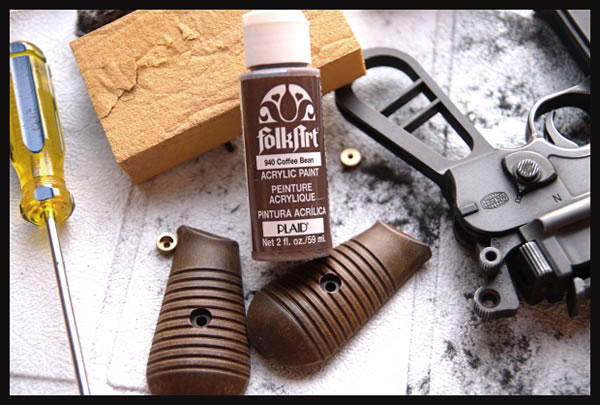
Photo above: Preparing for first acrylic paint coat on Broomhandle grips
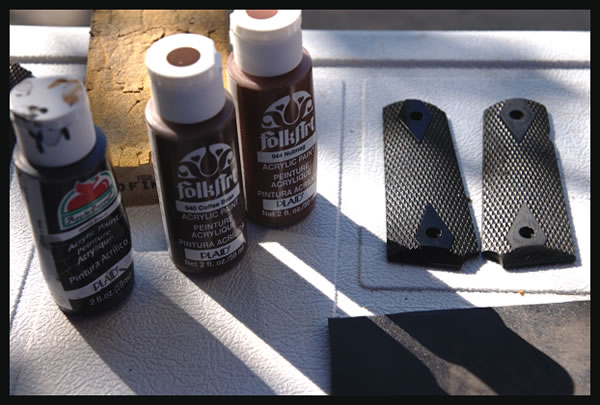
Photo above: Acrylic paints to be used on 1911 grips
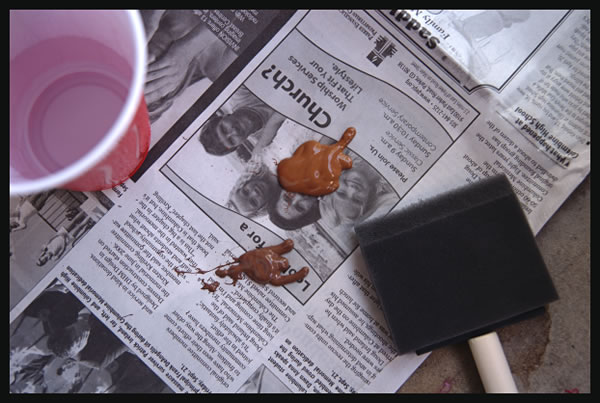
Photo above: Mixing acrylic base colors for 1911 grips
I always use newspaper as my 'palette' for these projects. And I use a plastic cup for water to mix the acrylic paints.
Just as we did with the wood treatment with applying acrylic paint, you will paint, then wait about a minute, then wipe the paint off until you get the darkenss or degree of aging you want.
Plastic is different than wood in that the paint will not 'soak in', this is one of the reasons that you sand the plastic to begin with, this roughs the surface up so that the paint will stick better and mimic as much as possible the soaking effect that wood has. Just make sure you don't wipe the acrylic paint off too soon, and conversely, the longer you leave it on, the more 'permanent' it is.
Don't worry, remember acrylic paint is water based, so just dip your brush in the water cup and go over any areas you want to 're-do' before they dry hard.
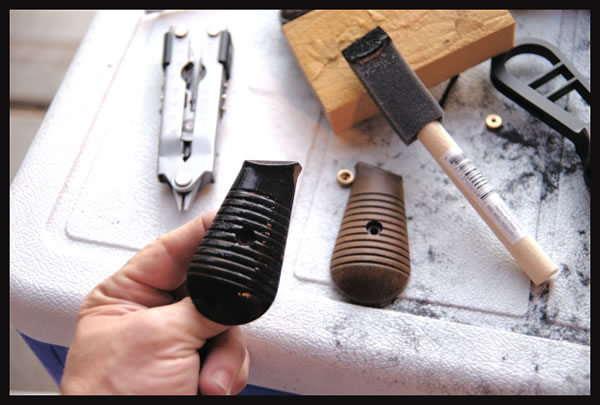
First, coat on Broomhandle grips.
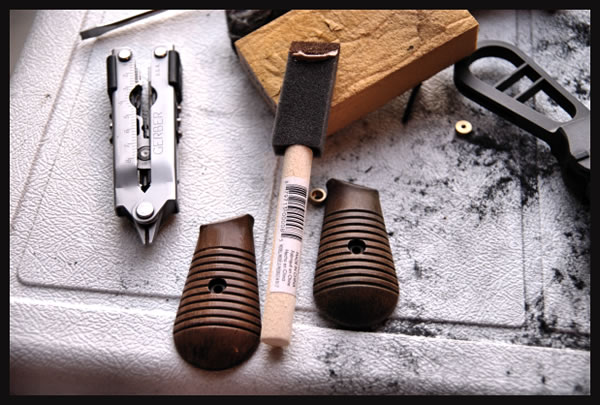
Photo above: Black 'Layer' Wiped Down, 2nd Brown Layer applied.
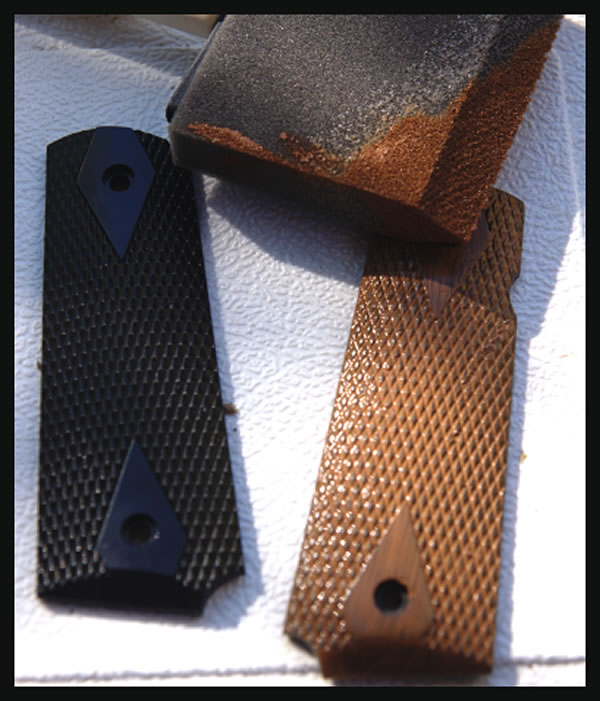
Photo above: Applying First Layer

Photo above: 1st Layer on 1911 Grips
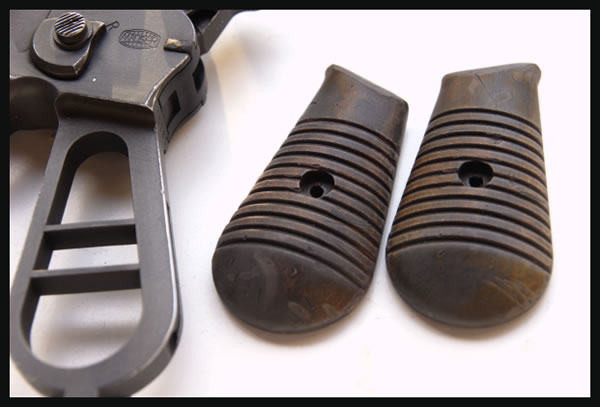
Photo above: Broomhandle Mauser Grips Completed
-Halfway Done-
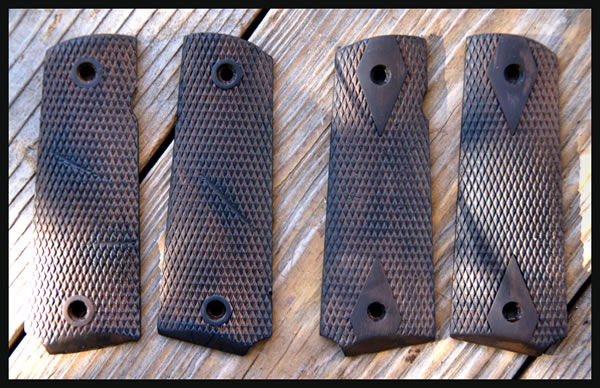
1911 Grips Done, Just Need Clear Coat Spray.
Final Step - Clear Coat Spray
Now that you have sanded, distressed, painted, wiped, and painted again until you reach the look you want, it is important to over spray the plastic grips, stock or whatever piece you are working on. This is especially important for 'high use' areas such as pistol grips. The sweat from your hand can ruin the all the work you have put into the replica quickly. Clear coat provides a protective layer over your work that will keep the acrylic paint from coming off. This is also useful if you use regular spray paint on plastics. For instance, if you use Testors 'Metalizer' gunmetal paints to apply a more realistic gray or parkerized effect on gun barrels or other surfaces, the clear coat will protect the finish and keep it from scratching or rubbing off with normal use.
In Conclusion...
As I said earlier, I really hope this helps all you to weather and age your replicas. At very least perhaps this will give you ideas that you can try on your own guns.
It was certainly a lot of fun doing this series!
Please don't hesitate to contact me with any questions or assistance you may need!
Slainte!
ADDENDUM
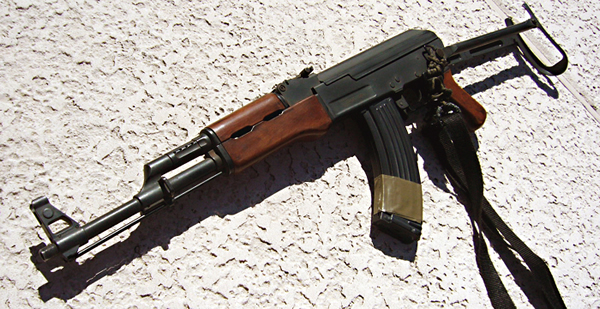
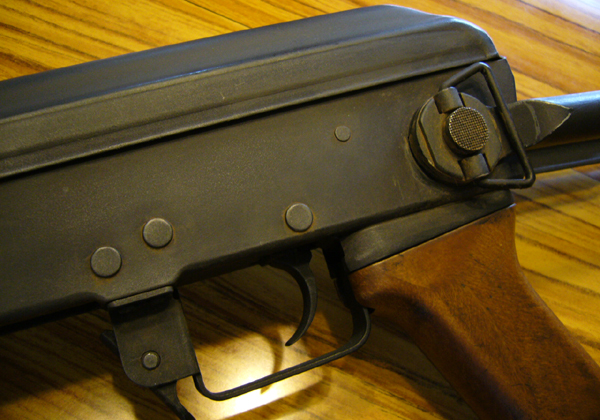
Additionally, Souske of Arnies[Airsoft] has allowed us to share his method for "rusting" your plastic ACM AK.
"Alright, I decided to put some more work into my AK47. I was generally happy at the mild wear, but I then realized it was missing a key component: Rust. This was achieved by making brown wash and applying it through out the gun. The key was not to over do it and put it in places where it would most likely occur in crevices, etc. I'm fairly surprised at how well it turned out...as I've never done anything like this before. To those who aren't familiar with my AK, it's a stock CYMA CM028 with the plastic body, etc
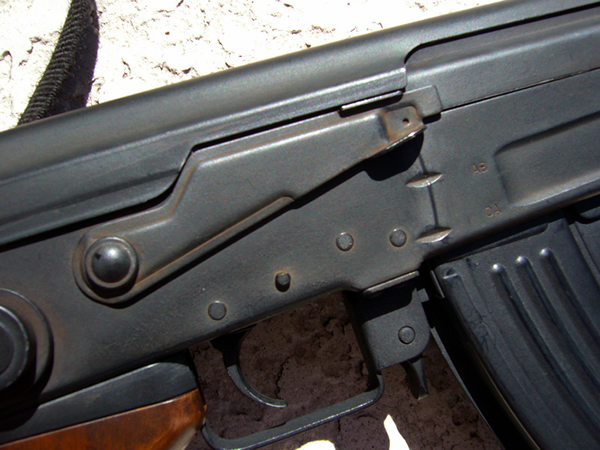
"As for how I made the wash, I took some dark brown acrylic paint and diluted it a little with water. I then dipped my brush into the solution, then swabbed it over the areas of the gun. I then wiped off the excess with a paper towel, and then repeated a few times, allowing it to dry each time. Although it doesn't make the gun look much different on whole, it adds a bit of detail that's still noticeable.
More pictures in different lighting to show the wash effect. "