Jing Gong BAR-10 Upgrade with PDI-Japan VSR-10 Parts
OptimusPrime
07 Nov 2008
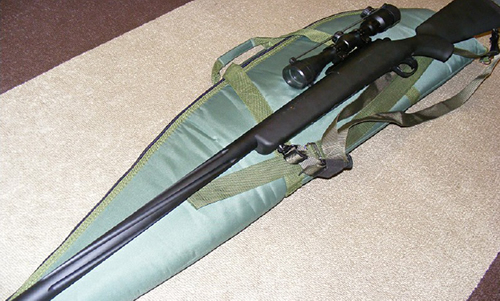
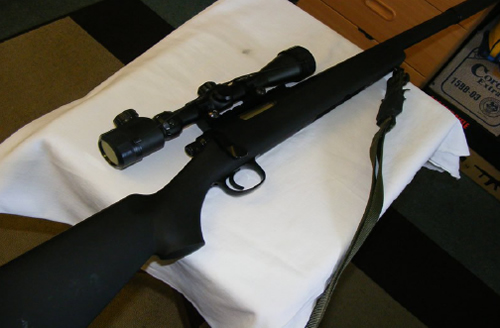
Bulletproofmike, ever since he has gotten his Jing Gong Bar 10 Airsoft Sniper Rifle, has been looking for ways to upgrade it to make it more accurate, better built, and at a higher velocity using .25BBs within the allowed limits of bolt-action rifles in the UK. Some sites allow bolt action rifles at 500fps, and so that's the limit he wants to achieve. Upon hearing of this project, Tomo Nishozono of PDI Japan, sent us their upgrade parts and accessories made for the TM VSR-10 in order to make this a reality.
What came out is a beautiful sniper rifle that is built to last, and something that you don't want yourself in its crosshair. The amount of time and PDI-Japan parts used here also makes your JG BAR-10 sniper rifle appreciate in terms of value. Surely, it is also a good investment when you do your own upgrades and intend to sell custom rifles to other airsoft players. The JG BAR 10 is an exact clone of the TM VSR-10 that we are confident that all parts sent to us by PDI Japan would fit.
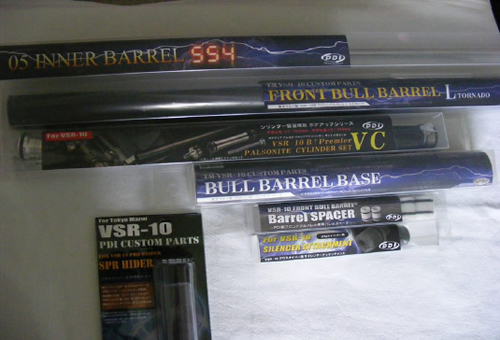
To begin with, PDI Japan sent us the following parts:
- Bore up Premiere Palsonite Cylinder set VC
- VSR-10 Front Bull Barrel L Tornado
- Bull Barrel Base
- Bull Barrel Spacer
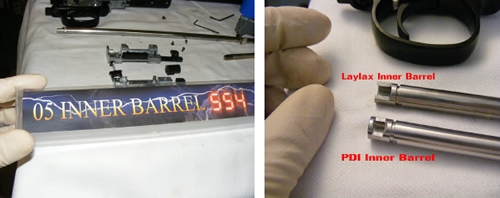
- 6.05 inner barrel 554mm
- SS3000 and 4000 Springs
The tool sets that you'll need to start the upgrade project are just a set of allen keys for hex screws, a monkey wrench and screw drivers for slotted and philips screws. As always, please take extra precaution that there is no bb remaining inside the rifle which you can check by firing the rifle safely to ensure that there is none left.
Now off we go to the upgrade...
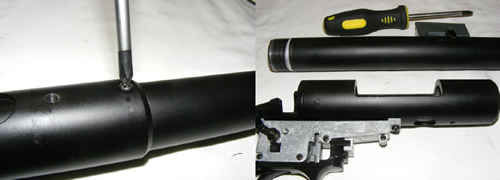
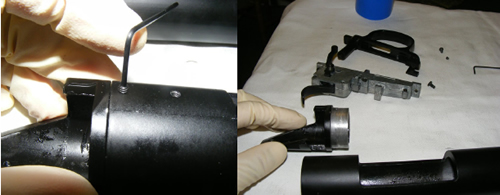
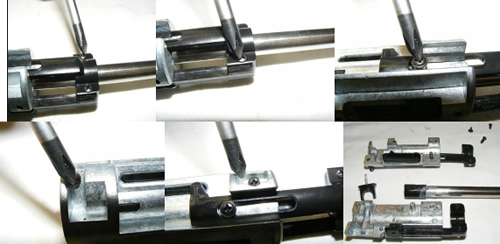
1. Remove the hex screws near the mag well
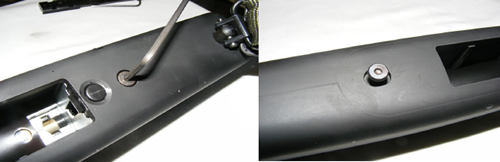
2. Removing the hex screws then allows you to remove the upper and lower parts of the rifle

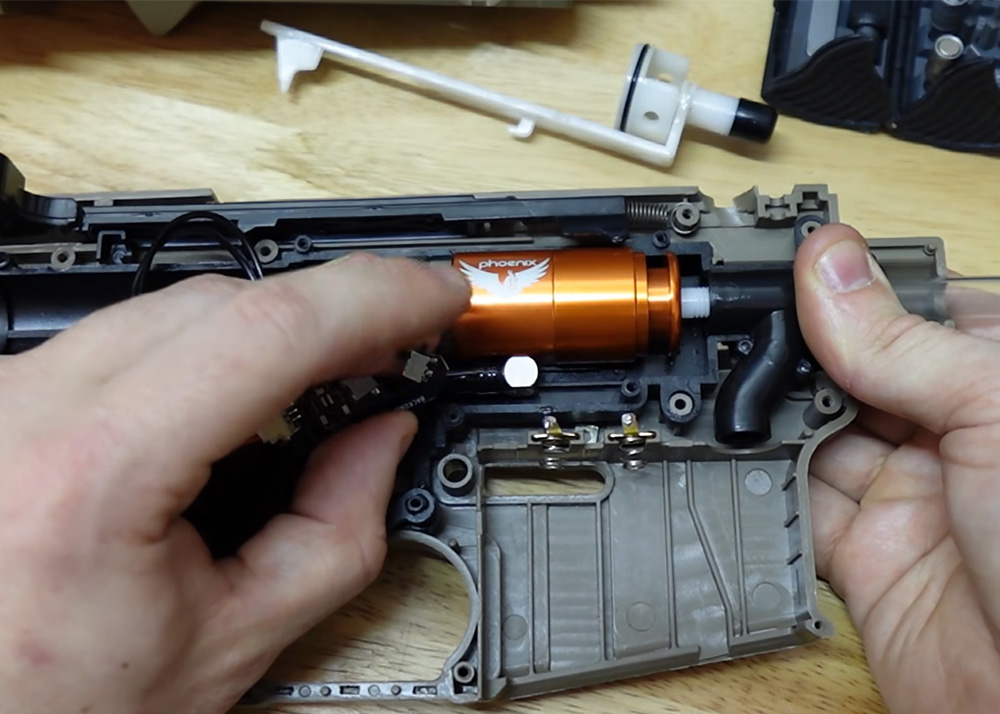
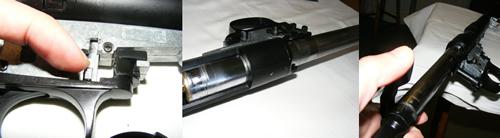
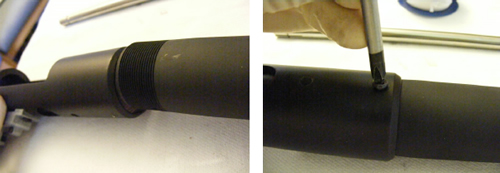
3. Push down hard on the pin as shown in the photo, we used a screwdriver to push it. Once you're able to push it, you can easily remove the cylinder by pulling it out.
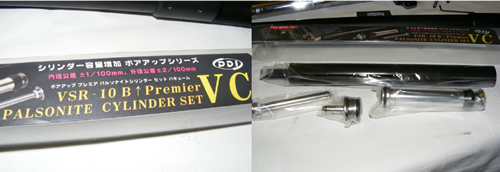
4. Prepare the PDI VSR-10 Bore up Premier Palsonite Cylinder Set VC. This comes with the following parts:
- cylinder
- cylinder head
- piston
- 9mm spring guide
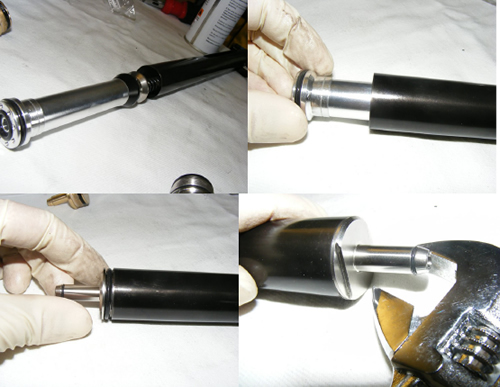
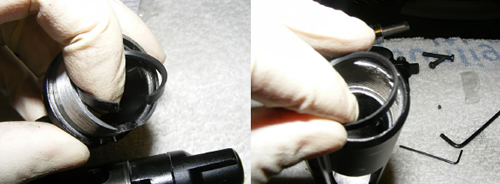
5. Remove the bolt handle by unscrewing the cylinder with an alley key
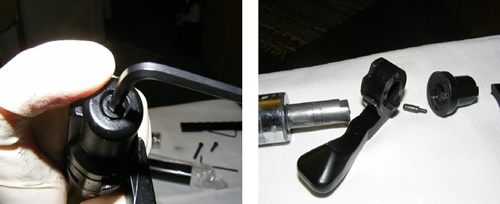
6. Unscrew the hex screw at the end of the cylinder to remove the parts (well, just in case you need them as spares)
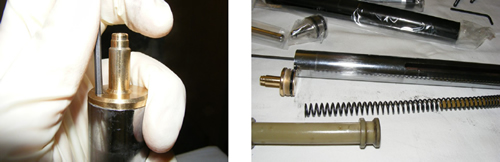
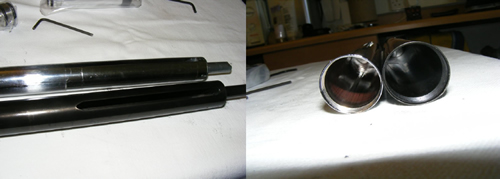
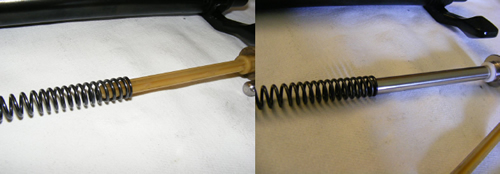
Now, if you compare the cylinders of the stock JG and PDI-Japan, you'll discover that the PDI-Japan Cylinder has a bigger diameter than the JG.
7. Attach the bolt handle to the bore up cylinder. If the lock does not fit, you'll need to file the tip until it provides a tight fit
8. You cannot use the 9mm stock spring for the upgrade as it will not fit. You will need the 13mm springs such as the PDI SS3000 or SS4000 springs to be able to provide a good fit.
9. Once you have properly fitted the 13mm spring, you can insert them all in the cylinder. Secure everything with the cylinder head and lock it tight using a monkey wrench.
Now it's time for the other nitty-gritty details of changing barrels and using the PDI-Japan upgrade parts.
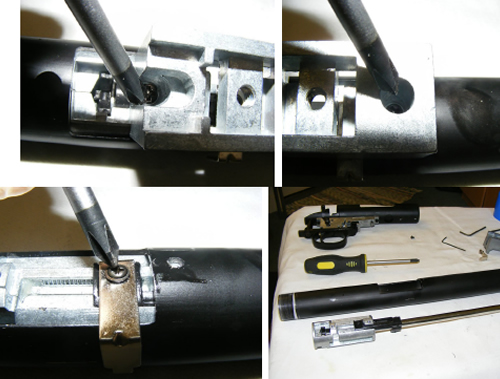
10. You'll need to unscrew the barrel base from the receiver
11. Remove the trigger from the receiver by unscrewing the philips screws
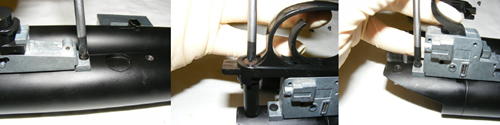
12. The two-piece JG BAR-10 receiver can be removed by using an allen key. After removing the screws, and the trigger can finally be separated from the receiver.
13. Replace the rings with the rings provided by PDI-Japan. You can find and remove these at the receiver area and barrel base
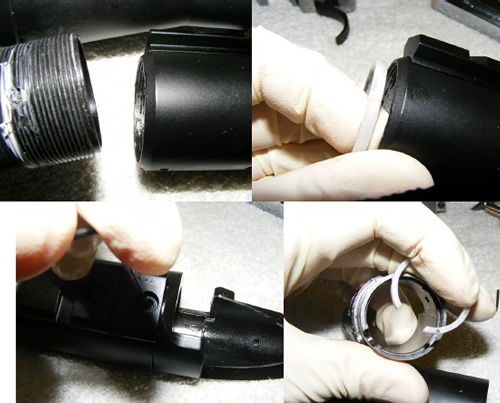
14. The PDI Rings are black in colour. Just insert them in the same areas where you removed the JG rings
15. This time, it is the hop-up unit's turn to be taken out. Just remove the Philips screws then pull out the hop-up and the inner barrel
16. You now need to split the hop-up unit to remove the inner barrel
17. Time to replace the inner barrel. The PDI-Japan 6.05 Inner Barrel for the TM VSR-10 is much more similar to AEG inner barrels as compared to the Laylax inner barrel for the TM-VSR10
18. Put back the hop-up and inner barrel. Insert the rubber. In this case, and secure it, we prefer to use teflon tape
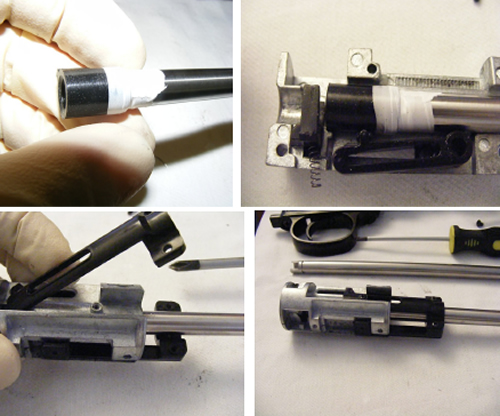
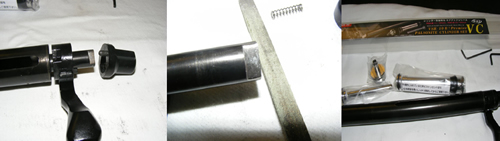
19. It's the turn of the PDI Bull Barrel Base to be installed. It is very well made and is in black colour. Insert the inner barrel and screw everything together.
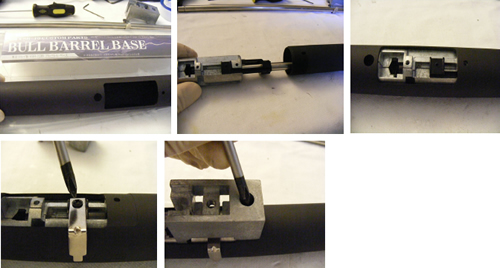
20. Install the Bull Barrel Base to the receiver
21. Coming up next will be the Front Bull Barrel Spacer
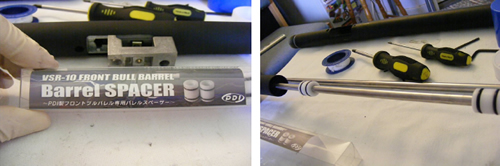
22. We're nearly there. Time for the external parts to come in and we'll start with the PDI Front Bull Barrel L Tornado. Attach it to the Bull Barrel Base and make sure one of the spacers is near the end of the Front Bull Barrel
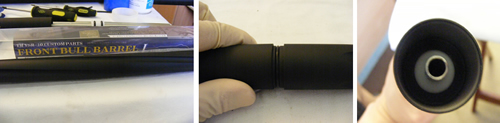
23. Place the Bull Barrel Cap and you're done!